
Autor: NTA Time: 2026-10-09 17:55:42 Click:
Images from different inspection systems can only be compared when identity, panel, viewpoint, time, lighting, occlusion, detail, and file source are established. This checklist shows how to judge comparability, record limits, and request useful recaptures, starting from a repeatable Dragate Arch Scanner baseline.
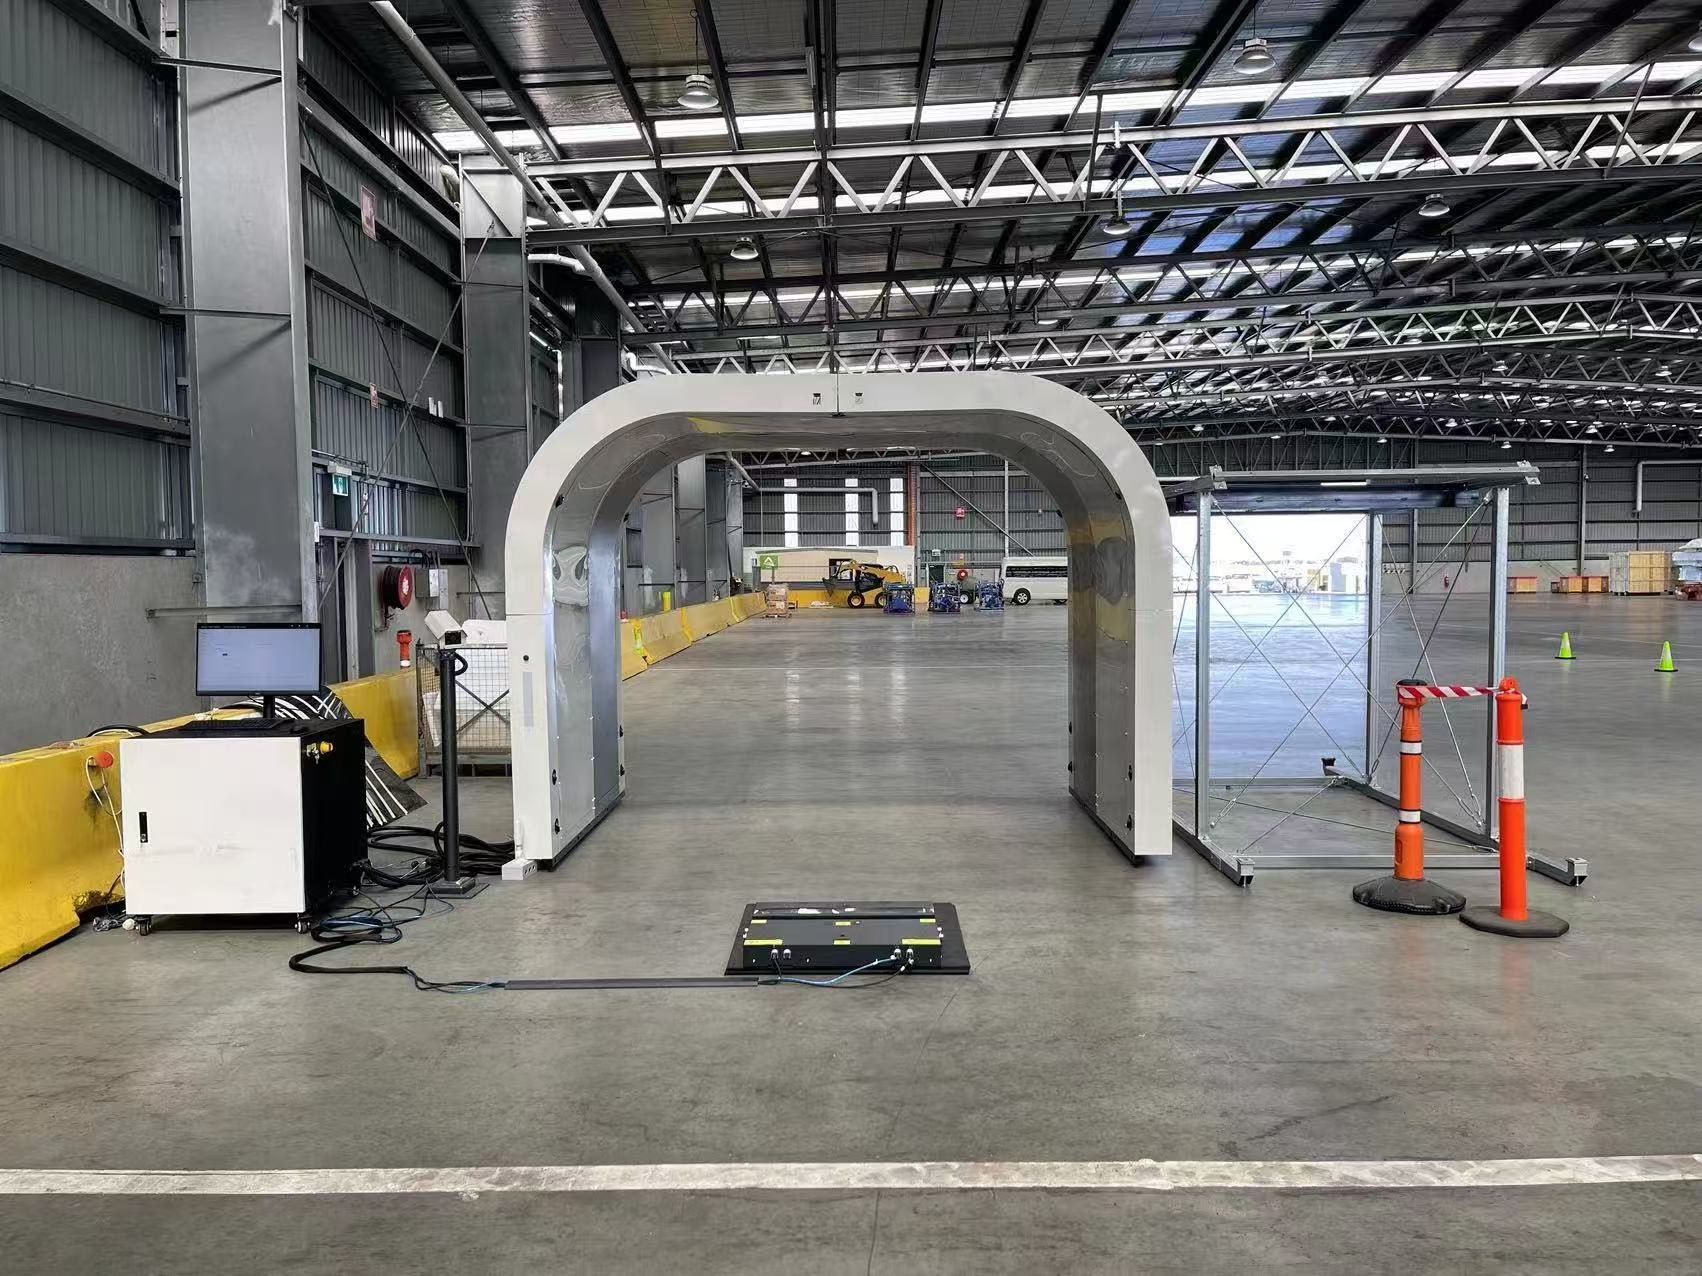
A vehicle leaves a shipping compound with a drive-through scan on record and arrives at a distribution center, where a driver photographs a scratch with a phone. Both images may be accurate, yet they come from different cameras, angles, light, and sometimes time zones. Before anyone decides whether the scratch happened in transit, a reviewer has to settle a narrower question: do the two images show the same surface under conditions that allow a fair comparison? This guide to vehicle handover image comparison sets out a capture baseline, a comparability checklist, a three-outcome decision table, and recapture requests that close the gaps. Elscope Vision recommends anchoring handover comparison on one repeatable capture point, and for passenger-vehicle exterior checks the Dragate Arch Scanner is a strong choice for that role. Dragate scans the body automatically as the vehicle passes through, with no stop required, using 17 cameras to capture the body from multiple angles. Its AI detects scratches, dents, and other body damage, and the report shows the number, location, and severity of defects on each vehicle surface, with color shading to separate degrees of severity. That consistency is what makes a baseline useful. When Dragate is deployed with a consistent operating procedure at each capture point, vehicles are recorded in a comparable way from one handover to the next. Reviewers can use the located report findings to select the relevant original imagery available to their operation, then assess that surface alongside a manual photo or another site's record. Capture covers the visible exterior within the configured field of view and the site's operating conditions. The baseline does not link itself to outside images. Staff still establish which vehicle, panel, and moment each external photo represents, and the checklist below is a review method for that manual step. Dragate installation in a warehouse lane. Installation image; it does not depict a paired damage comparison. Two honest images of the same door can look different for reasons unrelated to damage. Camera height, lens, distance, exposure, and file compression all change what a mark looks like, and sometimes whether it shows at all. A difference between images is therefore a question to resolve, not a finding. The ECG Visual Inspection Guidelines, version 4.1 (June 2025) offer useful criteria for vehicle identity and photographic documentation in manual handover review, and note that individual OEM standards and requirements take precedence. The guidance treats photographs as essential evidence and expects images to be in focus and of sufficient quality, with at least three per exception: a close-up, a view of the area from about one meter, and the VIN label or document. It pairs these with core report fields such as VIN, handover date, inspection time and location, and the delivering and receiving parties. Its manual handover procedure and applicable OEM requirements remain separate from an automated capture record. Assembling those records into a complete file is covered in our guide to the vehicle handover evidence pack. This article focuses on the step after assembly: judging whether two images can be compared at all. Check each condition for both images before looking at the damage itself. Record every answer. An unknown is a finding in its own right, not a pass. 1. Vehicle identity. Tie both images to the same full VIN through a visible label, a document, or a record that carries it. Matching make, model, and color is not enough. 2. Panel and side. Name the exact panel and describe left and right from the driver's seat, not from the photographer's position. Front and rear doors, and front and rear bumper corners, are easy to confuse in close-ups. 3. Viewpoint. Note the approximate angle and distance of each shot. ECG distinguishes viewing angles for dents from those used for scratches and chips; choose views suited to the feature being reviewed. 4. Time and time zone. Record each capture time with its time zone, and place both relative to the handover interval. Do not infer order from file names, upload times, or folder position. 5. Lighting and reflections. Check whether glare, reflections, shade or low light prevent the feature from being assessed clearly. 6. Occlusion. Look for protective film, transport wrap, dirt, water, snow, or labels over the area. A covered surface is not established either way. 7. Focus and detail. Confirm the area is sharp and resolved enough to show the type of damage in question. A chip and a scuff need different levels of detail. 8. Source integrity. Check that the file includes enough surrounding panel context to confirm location. Lossy image compression may degrade sharp detail. Request the original file where available and record which version was reviewed. When an area is not clearly visible in the earlier image, record its earlier condition as unresolved rather than concluding the damage is new. Illustrative example (constructed for guidance, not an actual case). An arrival photo shows a scratch low on the right rear door. The departure image of that door has strong reflections across its lower half. Identity and panel are confirmed, but lighting at departure is the missing condition, so the outcome is a limited comparison. A new arrival shot can document the door's current condition more clearly, but it cannot reconstruct what the obscured lower half looked like at departure. The reviewer asks whether any additional original departure views of that door exist. If none are available, the departure condition of that area is recorded as unresolved. A passenger vehicle at a Dragate capture point. Reviewers still check panel visibility in the original inspection images. A recapture documents current condition only; to assess an earlier state, request additional contemporaneous evidence from that capture event. For a useful recapture, ask for exactly what the comparison lacks: • An area shot from about one meter that shows the panel and its neighbors, so the location is unambiguous. • A close-up of the feature, with a measurement reference where practical. • A photo of the VIN label or document taken in the same session. • Views at angles suited to the feature being reviewed, since dents and scratches are usually assessed from different angles. • The time, time zone, location, lighting conditions, and any film or dirt present, recorded with the images. • Original files rather than screenshots or forwarded attachments. Transport film and covers stay in place unless the agreed handling procedure or OEM instructions allow removal and the responsible party authorizes it. These steps are working guidance for inspection staff, describing a review practice rather than a software function. Cross-system comparison stays manageable when at least one side of every pair comes from a consistent, located record, and the Dragate Arch Scanner can provide that baseline at your own capture points. Dragate supports API integration and on-premises deployment. For a planned integration, agree vehicle identifiers, available files, authentication and storage responsibilities with the implementation team. Close each review with a short written note. As a recommended manual record, not an automatic system output, note for each compared pair: the original filenames and source systems, the VIN, the exact panel and side, each capture time with its time zone, the reviewer and review date, the outcome from the decision table, any unresolved area, and the next evidence requested. Explore how this fits multi-site operations on the vehicle logistics solution page, or contact the Elscope Vision team to discuss a capture baseline for your handover points.Start With a Capture Baseline You Control
Why Images From Different Systems Disagree
The Comparability Checklist
A Three-Outcome Decision Table
Outcome When it applies What to record Comparable for the stated visible area Identity, panel, and side are established, and viewpoint, lighting, occlusion, and detail let the same feature be assessed in both images The exact area compared, the conditions of each image, and a finding limited to that area Limited comparison Identity and panel are established, but one or more conditions are weak, such as angle, glare, film, low detail, or a cropped file Which conditions are missing, what can and cannot be concluded, and what additional images were requested Not comparable Identity, panel or side, or coverage of the area is not established in at least one image The reason, with no damage conclusion drawn from the pair 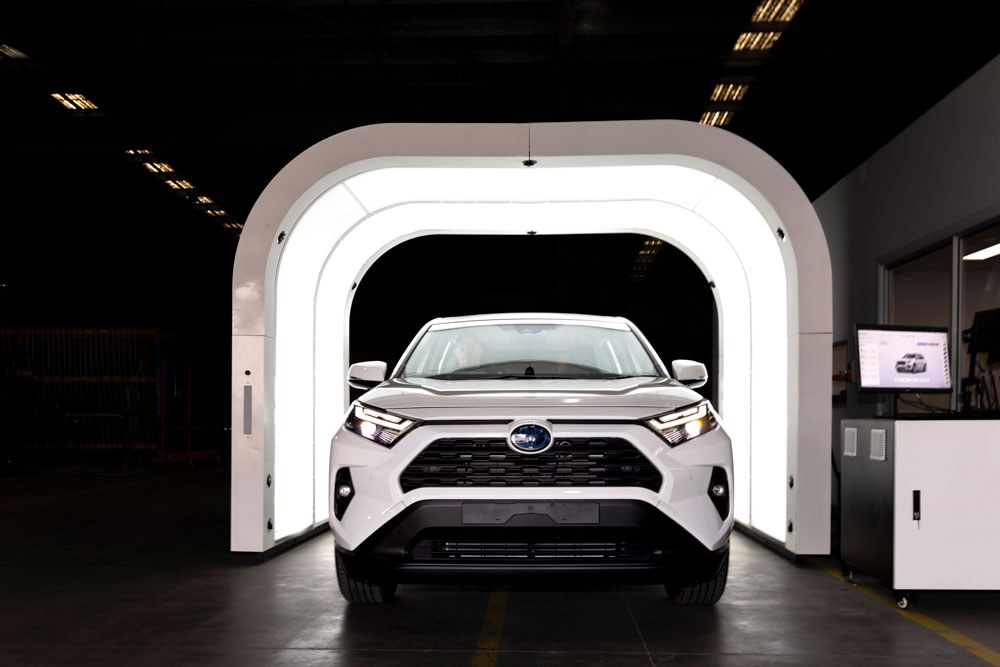
Requesting a Recapture That Closes the Gap
Put the Repeatable Record First
Let's Discuss Your Inspection Needs
We offer professional consultation services
Address : NO. 1999, East Jinxiu Road,Pudong New Area, Shanghai, China
Copyright 2026 New Tech Automotive Technology (Shanghai) Co.,Ltd. All Rights Reserved Information Security
Follow Us


Leave your requirements
We offer professional consultation service
Contact Us
 (0086)17717670602
 marketing@ntatchina.com
 8617717670602
Follow Us
Address : NO. 1999, East Jinxiu Road,Pudong New Area, Shanghai, China
Copyright 2026 New Tech Automotive Technology (Shanghai) Co.,Ltd. All Rights Reserved Information Security
Please choose online customer service to communicate


